
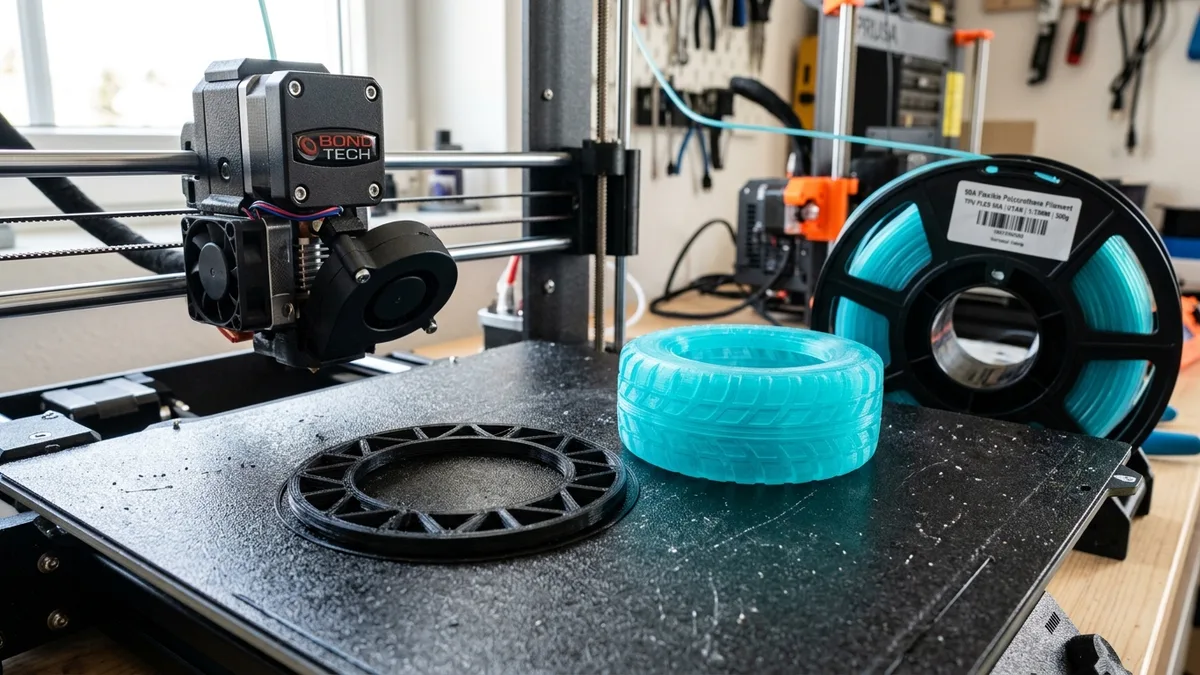
Walking into a workshop, the smell of isopropyl alcohol and curing resin is the first sign you’ve left the world of FDM printing behind. Resin printing offers incredible detail, but that detail is worthless if the part shatters. Matching the material to the model is everything. Using a standard resin for a snap-fit part will lead to a cracked failure. Using a tough resin for a miniature will hide the fine details you’re trying to achieve.
This guide cuts through the marketing fluff. It gives you the hard data and research-based advice to choose the right resin for your project, the first time. This guide covers the five main families: Standard, Tough, Flexible, Castable, and Engineering.
Resin Properties Comparison
| Resin Family | Tensile Strength (MPa) | Shore Hardness | Key Feature | Best For |
|---|---|---|---|---|
| Standard | 50 - 70 | 80D - 85D | High Detail, Fast Printing | Visual models, miniatures |
| Tough | 45 - 60 | 75D - 80D | Impact Resistance (30-50 J/m) | Functional prototypes, snap-fits |
| Flexible | 5 - 20 | 50A - 90A | Elasticity, Rubber-like feel | Gaskets, grips, living hinges |
| Castable | 20 - 40 | 75D - 85D | Clean Burnout (<0.1% Ash) | Investment casting patterns |
| Engineering | 60 - 90+ | 85D - 95D | Specific Properties (e.g. Temp) | Molds, jigs, high-stress parts |
Standard Resins: For Maximum Detail
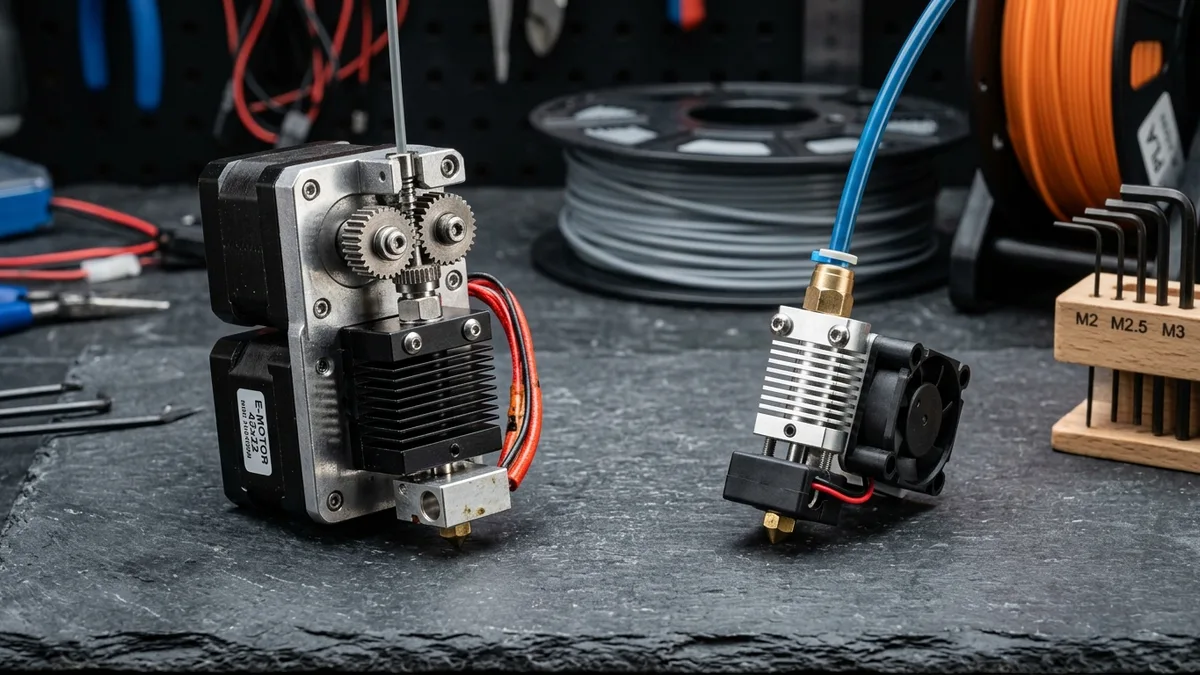
Standard resin is the workhorse of decorative printing. It’s formulated for one primary purpose: capturing extremely fine detail with sharp edges. It cures quickly, is relatively inexpensive, and is available in a huge range of colors.
Think of it as the PLA of the resin world. It’s easy to print with, but you wouldn’t use it for a structural car part.
Technical Data:
- Typical Use: Tabletop miniatures, display figures, architectural models. For a high-quality miniature, check out the guide on the Best 3D Printers for Miniatures: Resin and FDM Picks.
- Key Properties: High rigidity, low elongation at break (typically <5%), and high brittleness. The tensile strength is around 50-70 MPa.
- Printing Quirks: Expect bottom layer cure times of 20-30 seconds and normal layer times of 2-4 seconds on a modern monochrome LCD printer. It’s brittle, so be gentle when removing supports. A sharp flush cutter is your friend.
- Post-Processing: A standard wash-and-cure cycle is sufficient. Be aware that over-curing can increase brittleness significantly. Cure it just enough to eliminate any surface tackiness, and no more.
Tough Resins: For Parts That Take a Hit
When a standard resin part would snap, a tough resin part will deform and return. This category is engineered to simulate the mechanical properties of ABS filament. It has significantly better impact resistance and a little more give before it fractures.
This is your go-to for functional prototypes, enclosures, and parts with snap-fit connections.
Technical Data:
- Typical Use: Jigs, fixtures, drone frames, enclosures for electronics, parts that need to be screwed together.
- Key Properties: Izod impact strength of 30-50 J/m (compared to <10 J/m for standard). Lower tensile strength than standard resin but much higher elongation at break (20-40%).
- Printing Quirks: Tough resins are often more viscous. This can lead to print failures if your lift speeds are too high. Slow down your lift speed by 10-20% from your standard resin profile. They also require longer exposure times, typically 15-25% more than standard.
- Post-Processing: Proper cleaning is essential. Any uncured tough resin left in crevices will create weak points. A two-stage bath in clean IPA is recommended.
Flexible Resins: For Rubber-Like Components
Flexible resins are designed to mimic thermoplastic elastomers (TPEs) or TPU. Their defining characteristic is a low Shore hardness (A scale) and high elongation. You can create parts that bend, stretch, and compress like rubber.
Technical Data:
- Typical Use: Gaskets, seals, soft grips for tools, phone cases, tires for RC models, flexible watch bands.
- Key Properties: Shore hardness ranging from a very soft 50A to a semi-rigid 90A. Elongation at break can exceed 100%.
- Printing Quirks: These are challenging. Prints can easily tear off the build plate or supports. Use a ton of heavy supports with deep, large contact points. You can’t delicately remove supports; you have to plan to cut them off. The Z-axis will compress the soft material, so you may need to adjust your Z-height calibration.
- Post-Processing: Flexible parts love to absorb IPA, which causes them to swell and become weak. Your wash cycle should be as short as possible. A quick 30-second swirl in IPA, followed by a blast of compressed air, is better than a long soak. Curing also needs careful calibration; over-curing will make the part stiff and brittle, defeating the purpose.
Castable Resins: For Jewelers and Engineers
Castable resins are a highly specialized material family. They are not designed for final parts. They are designed to be destroyed. Their formulation is optimized for a clean, ash-free burnout during the investment casting process. The printed part is a positive pattern that gets replaced by molten metal.
Technical Data:
- Typical Use: Jewelry (rings, pendants), dental applications (crowns, bridges), small, intricate metal components for engineering.
- Key Properties: Extremely low ash content (<0.1%) after burnout. They are often very brittle and must be handled with care.
- Printing Quirks: Detail is paramount. Print at the lowest possible layer height your machine supports (e.g., 0.025mm or 0.03mm). These resins are often translucent, which can lead to light bleed and loss of detail. You may need to use slicer features like anti-aliasing and blur to get sharp results.
- Post-Processing: Do not post-cure with UV light unless the manufacturer’s instructions specifically require it. For many castable resins, post-curing makes the burnout process less clean. Just wash the part in IPA to remove excess liquid resin and let it dry completely.
Engineering Resins: Pushing the Material Limits
This is a broad category for materials that offer extreme performance in one or more areas. This includes high-temperature resins, ceramic-filled resins for extreme stiffness, and electrostatic discharge (ESD) safe resins. These are professional materials for demanding applications.
Technical Data:
- Typical Use: Short-run injection mold tooling (high-temp), wind tunnel test models (high stiffness), jigs for electronics assembly (ESD-safe).
- Key Properties: Varies widely. High-temp resins can have a Heat Deflection Temperature (HDT) over 220°C. Ceramic-filled resins can have a flexural modulus over 10,000 MPa.
- Printing Quirks: These resins are expensive and unforgiving. They often require specialized printer hardware, like a heated chamber or vat, to print successfully. Expect to run multiple calibration tests to dial in your settings. Follow the manufacturer’s technical data sheet to the letter.
- Post-Processing: Post-curing is almost always a multi-step process involving a specific UV cure cycle followed by a thermal cure in an oven to achieve the final material properties. Skipping this step means you are not getting what you paid for.
Best Filament Dryers
Proper material storage prevents moisture-induced print failures and preserves polymer strength. If you work with hygroscopic materials, you can compare filament dryers to find a heated enclosure that matches your spool capacity.
TPU & Flexible Filaments
Elastomeric materials require specialized extrusion and cooling profiles to print reliably. Reviewing TPU & Flexible Filaments: The Complete 3D Printing Guide helps you translate flexible resin concepts to FDM extrusion workflows.
Hybrid Projects: When to Use Both FDM and Resin
Sometimes, a single technology isn’t enough. The best projects often combine the strengths of different manufacturing methods. FDM printing is fantastic for large, structural parts where speed and material cost are key. Resin printing excels at tiny, intricate details that FDM machines can’t resolve.
Consider building a detailed scale model of a spaceship. You could print the large hull sections and internal frame quickly and cheaply on a high-speed CoreXY FDM printer. Then, you can use a resin printer for the high-detail components: the pilot, the cockpit controls, weapon emplacements, and greeblies. This hybrid approach gives you the best of both worlds: the strength and speed of FDM with the stunning detail of resin.
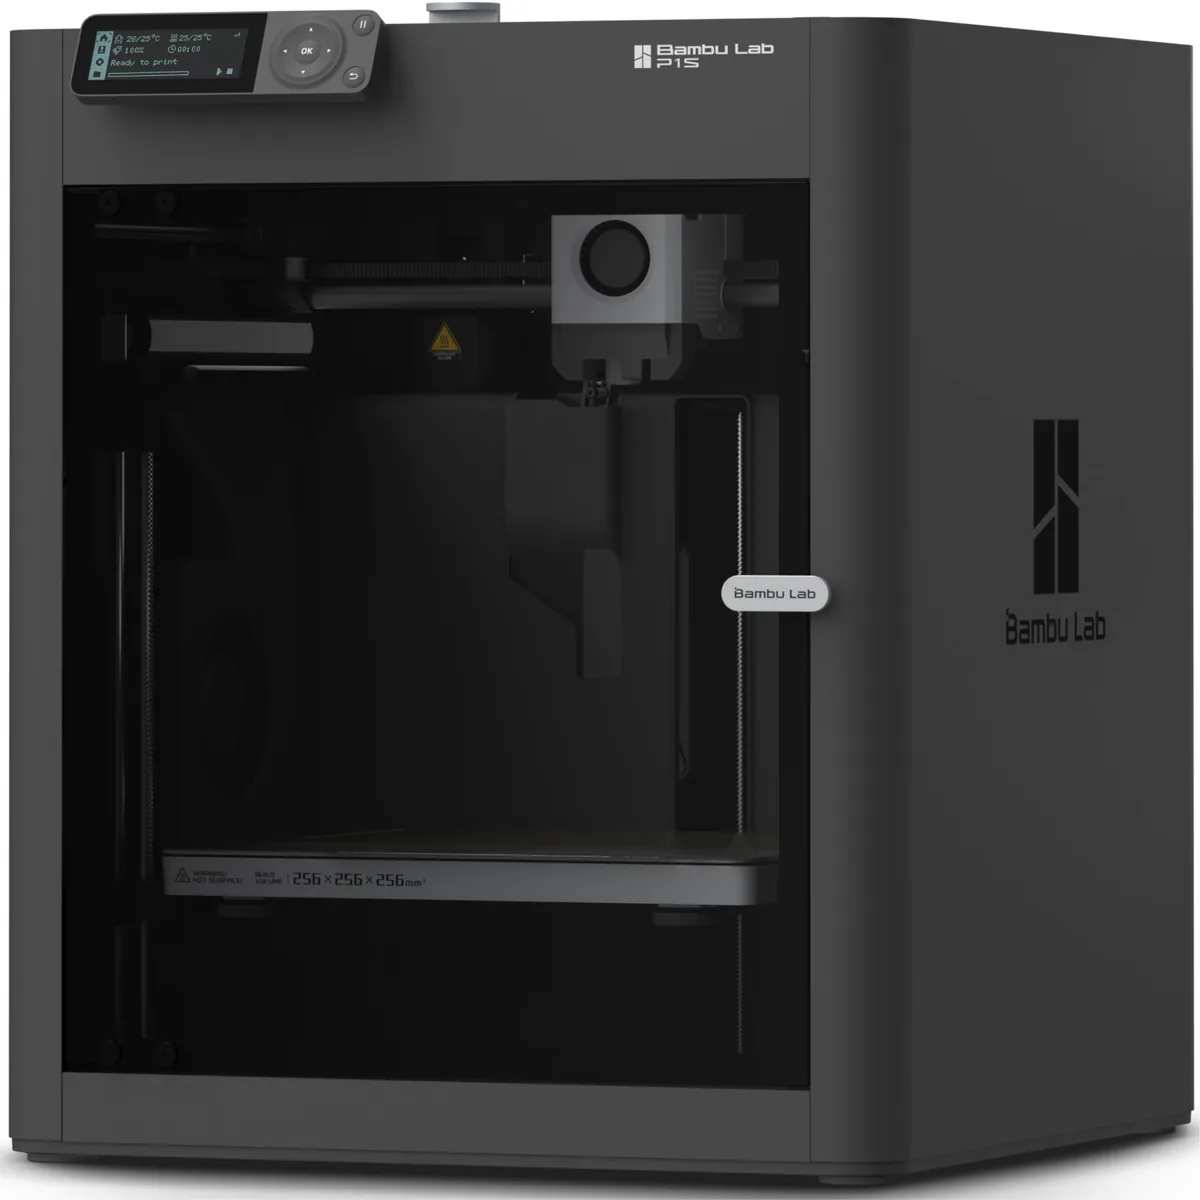
Bambu Lab P1S Enclosed 3D Printer
Pros
- Fully enclosed CoreXY chassis with auxiliary cooling fan, Smooth multi-color / multi-material integration with Bambu AMS, Reliable out-of-the-box first layers with dual automated bed leveling, Active vibration compensation and belt tension monitoring
- Enclosed design helps with printing temperature-sensitive filaments like ABS and ASA.
- Excellent print quality with minimal tuning required.
Cons
- Proprietary closed ecosystem
- Chamber is passively heated by the bed rather than a dedicated PTC heater
- Upgrading to hardened nozzle for carbon fiber requires separate swap
A Note on Material Care and Workshop Best Practices
All resins are sensitive to UV light and have a limited shelf life. Store them in their original opaque bottles in a cool, dark place. Before every print, shake the bottle vigorously for at least 30 seconds to ensure the pigments and photoinitiators are evenly distributed. After a print (especially a failed one), it’s good practice to filter the remaining resin back into the bottle to remove any cured particles.
This level of material care is universal in 3D printing. For FDM users, preventing moisture absorption in filaments like PETG or Nylon is non-negotiable. A wet filament produces steamy, weak, and stringy prints. Just as you protect resin from UV, you must protect certain filaments from humidity. A dedicated filament dryer is a must-have tool for achieving strong, reliable FDM parts, especially with engineering-grade materials.

Creality Space Pi Filament Dryer
Pros
- PTC heater provides more even heating than a basic reptile mat.
- Large enough for two standard spools or one very wide spool.
- Simple controls and clear display for temperature and time.
Cons
- The fan can be a bit noisy for a quiet office environment.
Choosing the right resin is a critical skill. It moves you from just printing things to engineering solutions. Start with your project’s mechanical requirements, and let those guide your material choice. Keep a log of your settings, learn from your failures, and soon you’ll be able to match any model with the perfect material. You can find more filament and resin selection guides considerations to expand your material library.