
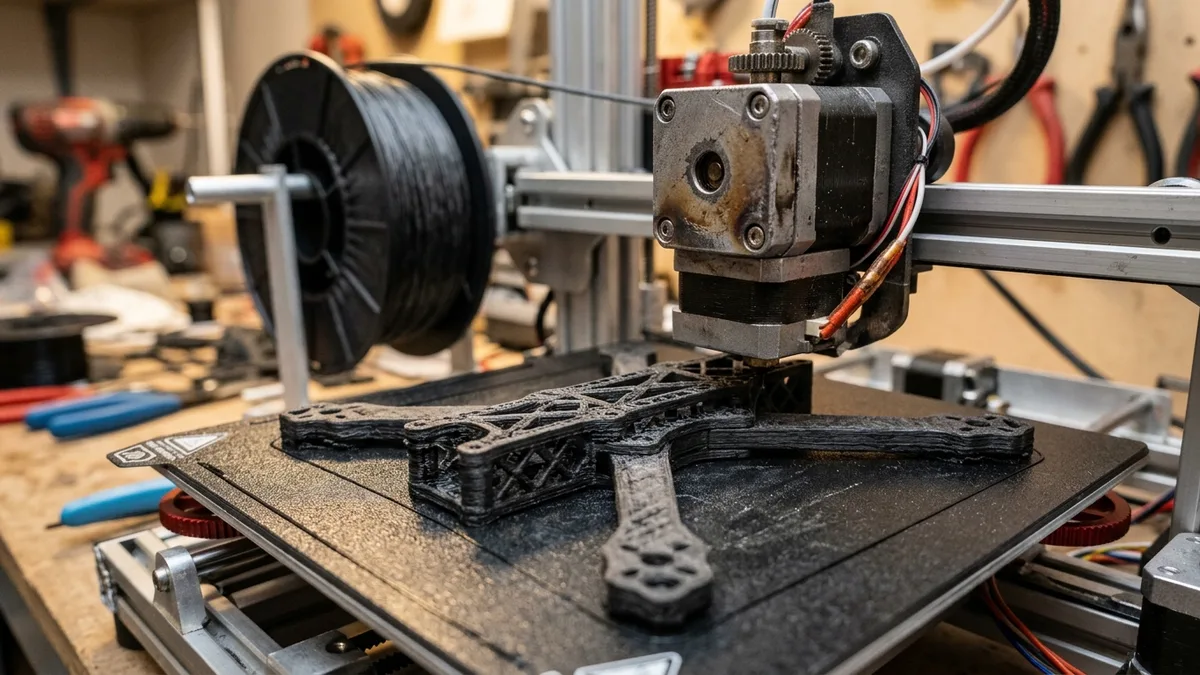
Nylon, Polycarbonate, Polypropylene, and fiber composites need different drying, hotend, bed, enclosure, adhesion, and nozzle controls. This guide starts with dry-filament requirements, then covers each material family, compares maker-style parameter ranges, and ends with a part-based decision framework.
These engineering filaments extend heat, fatigue, chemical, stiffness, or impact performance beyond common PLA profiles. The advantage depends on the exact formulation and test method. The spool technical data sheet therefore decides the settings and service properties, while the printer manual decides safe hardware limits. Exploring other filament and resin guides ensures that your material properties and compatibility align with your project goals.
The Universal Prerequisite: Bone-Dry Filament
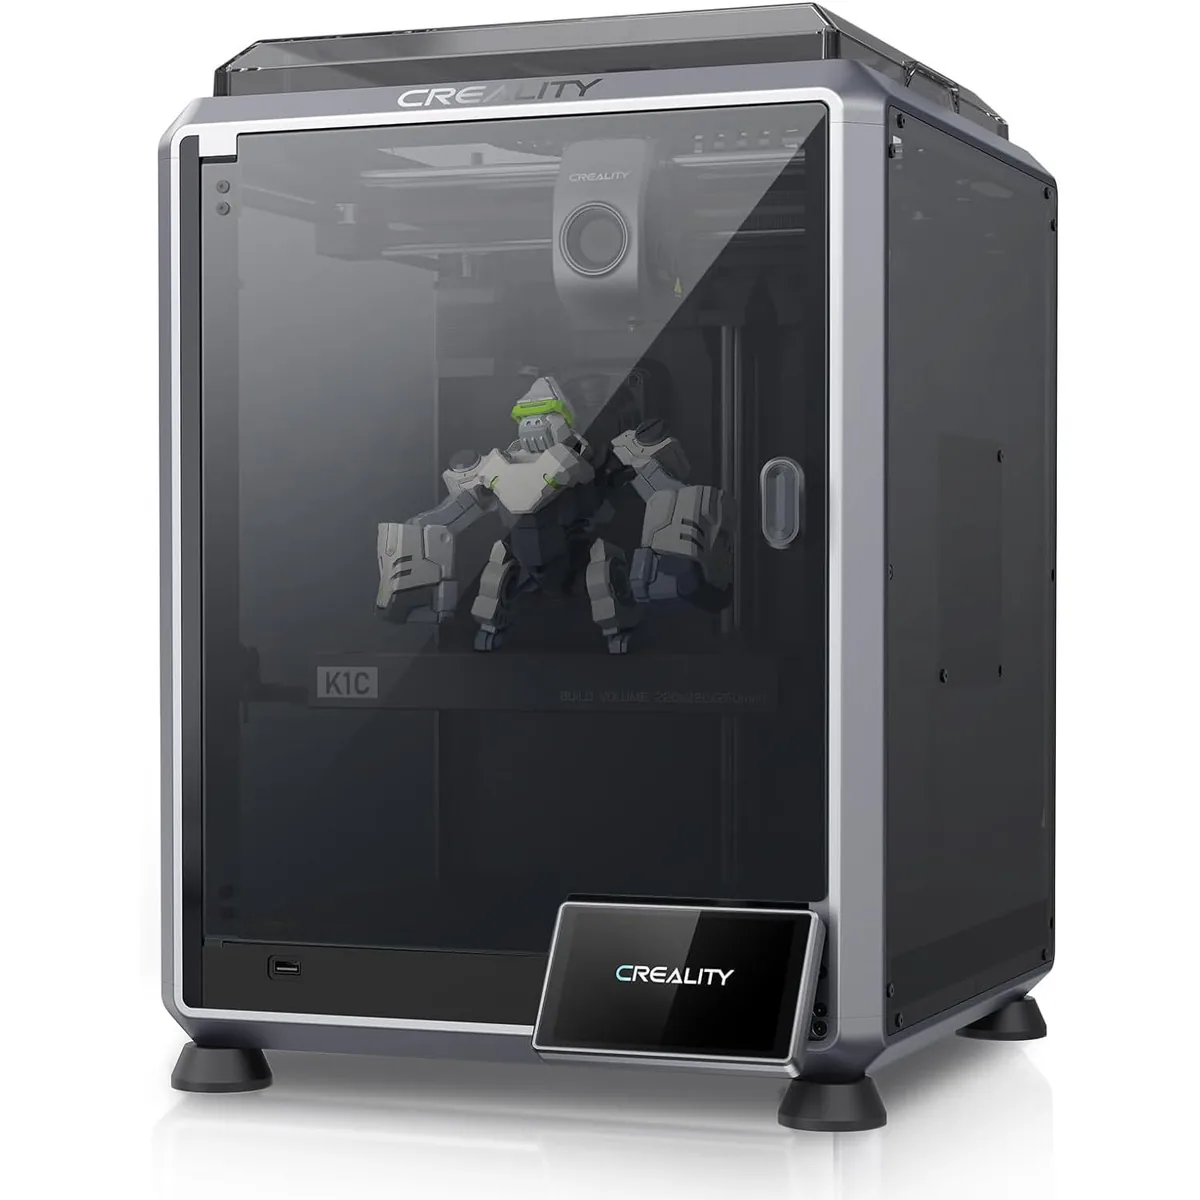
Before we discuss any specific material, we have to address the number one failure point: moisture. Nylon, Polycarbonate, and many of their composites are intensely hygroscopic. They act like sponges, pulling moisture directly from the air.
Printing a “wet” spool is a waste of time. You will hear popping and sizzling from the hotend as the water inside the filament instantly turns to steam. This creates voids in your print, destroys layer adhesion, and results in a weak, stringy, and dimensionally inaccurate part.
You cannot skip this step. A dedicated filament dryer is not a luxury; it is a required tool for this work.
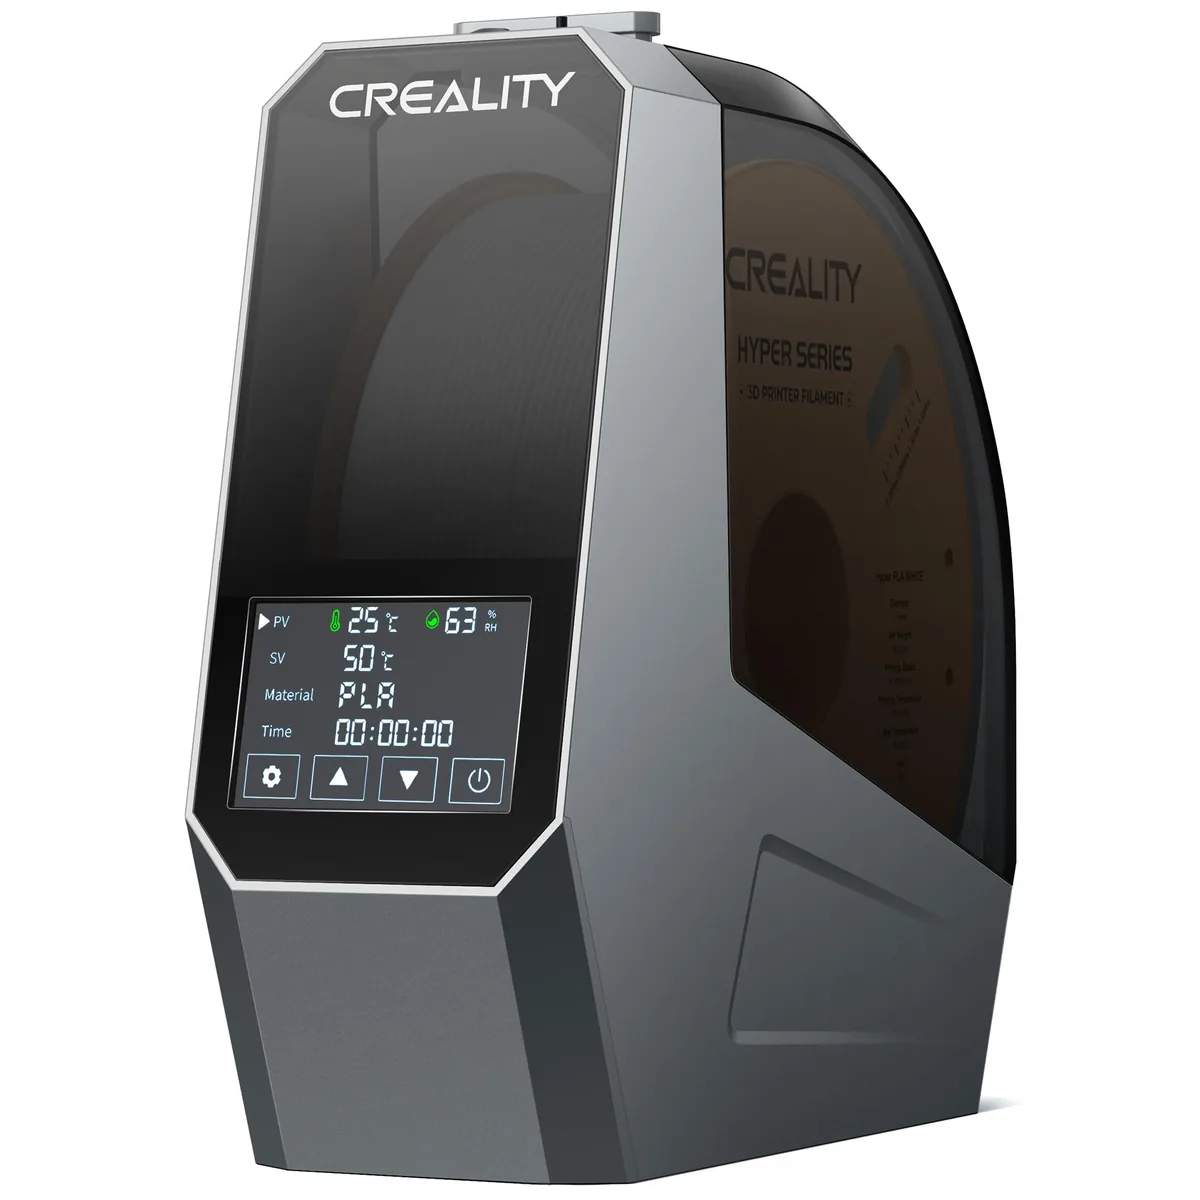
Creality Space Pi Filament Dryer
Pros
- Precise temperature control is essential for different materials.
- 360-degree airflow dries more evenly than bottom-up heaters.
- Doubles as a dry box for printing directly from the unit.
Cons
- Max temp of 65°C is on the low end for deep-drying very wet Nylon or PC; for those
- a food dehydrator hitting 80°C+ might be needed for the initial bake.
For every material in this guide, assume a minimum drying cycle of 6-8 hours at the recommended temperature before you even think about loading it into your printer. For best results, print directly from the active dryer.
Nylon (Polyamide, PA)
Nylon is the king of toughness and fatigue resistance. It is what you use for living hinges, durable gears, and parts that need to bend without breaking. Its low coefficient of friction also makes it great for sliding components.
The Challenge: Extreme hygroscopy and a tendency to warp.
Workshop Execution for Nylon
- Drying: 80°C for 8-12 hours. It is not an exaggeration to say Nylon can be ruined in a few hours of sitting in a humid room.
- Nozzle & Bed Temperature: Expect a nozzle temperature of 250-270°C and a bed temperature of 80-110°C. You must have an all-metal hotend; a PTFE-lined one will degrade and off-gas at these temperatures.
- Bed Adhesion: Nylon hates to stick. A standard PEI sheet will not work well. Your best bet is a Garolite (G-10) build surface. If you do not have one, a glass bed with a thick layer of PVA glue stick (the purple kind that dries clear) is your next best option. A very wide brim (10-15mm) is mandatory.
- Enclosure: A passive enclosure is highly recommended to keep ambient temperatures stable and prevent drafts, which are a primary cause of warping and layer splitting.
- Cooling Fan: Turn it off. Completely. Part cooling causes rapid contraction and guarantees layer separation. You might use 10-20% fan for very short bridges, but that is it.
Polycarbonate (PC)
When you need ultimate temperature resistance and impact strength, you reach for Polycarbonate. This is the material used for bullet-resistant glass and jet fighter canopies. It is incredibly strong, stiff, and can hold its shape at temperatures approaching 115°C.
The Challenge: Extreme temperature requirements and a violent tendency to warp and crack.
Workshop Execution for Polycarbonate
- Drying: 85°C for 6-8 hours. PC is also very hygroscopic.
- Nozzle & Bed Temperature: This is where most consumer printers fail. You need a nozzle capable of 280-310°C and a print bed that can reliably hold 110-130°C. This is not a suggestion. Failure to reach these temperatures will result in zero layer adhesion.
- Bed Adhesion: A clean, smooth PEI sheet with a layer of PVA glue stick often works best. Some users have success with specialized polymer adhesives like Magigoo PC.
- Enclosure: An enclosure is non-negotiable. For large PC parts, a passively enclosed printer is just the starting point. You ideally want an actively heated chamber that can maintain an ambient temperature of 60-80°C. This is where modern CoreXY printers excel.
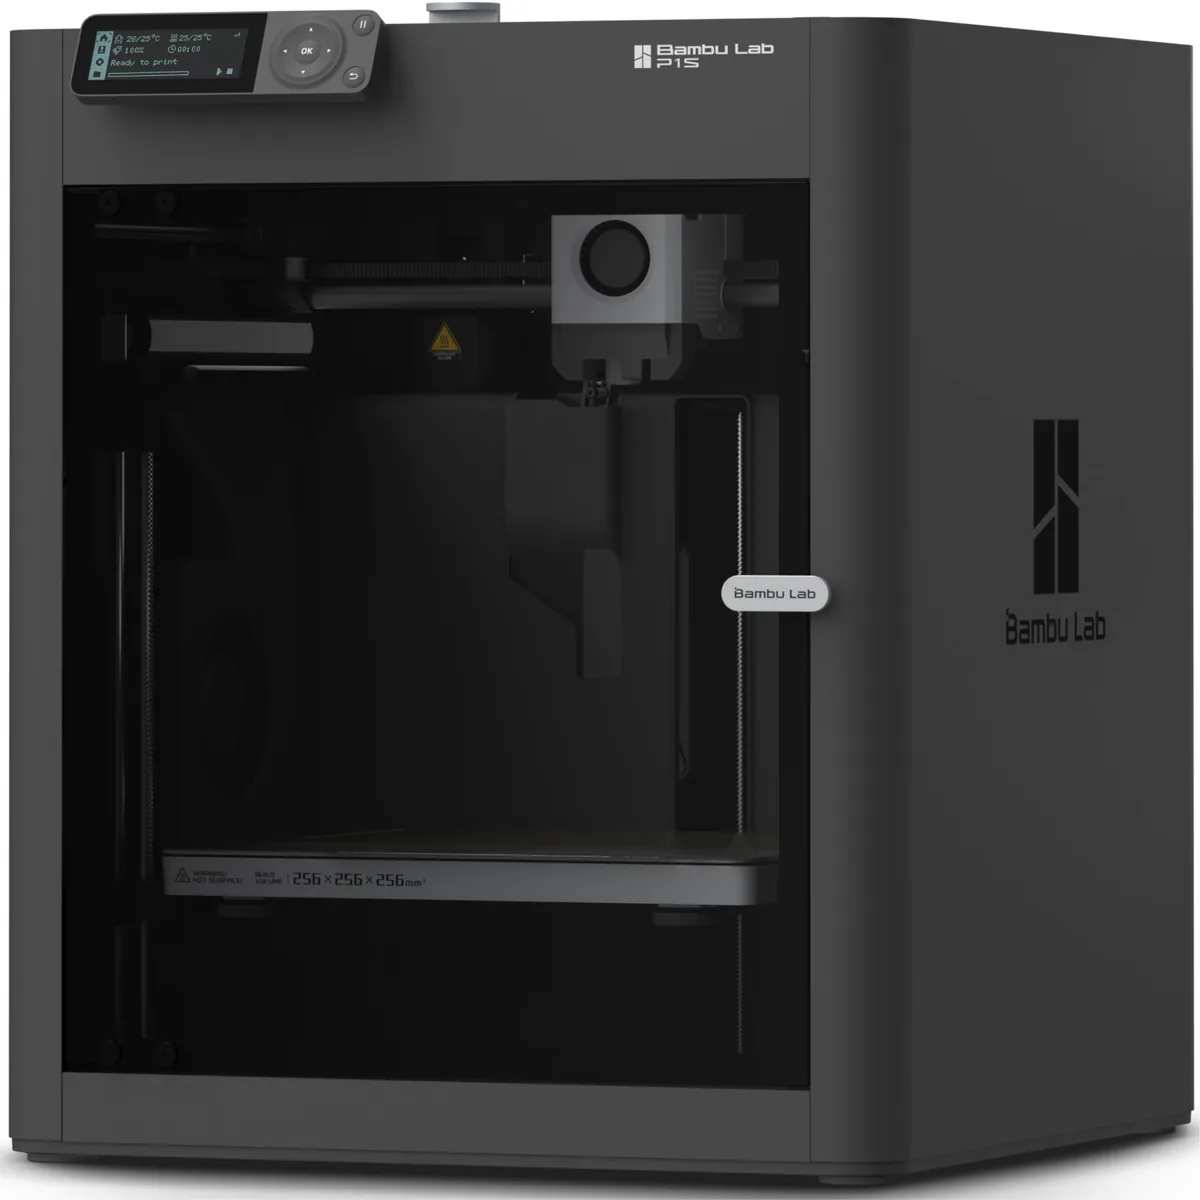
Bambu Lab P1S Enclosed 3D Printer
Pros
- Fully enclosed CoreXY chassis with auxiliary cooling fan, Smooth multi-color / multi-material integration with Bambu AMS, Reliable out-of-the-box first layers with dual automated bed leveling, Active vibration compensation and belt tension monitoring
- Stock all-metal hotend and hardened nozzle are ready for PC and composites.
- High speed and auto bed leveling streamline the printing process.
Cons
- Proprietary closed ecosystem
- Chamber is passively heated by the bed rather than a dedicated PTC heater
- Upgrading to hardened nozzle for carbon fiber requires separate swap
- Cooling Fan: Off. Always off. Cooling is your enemy when printing PC. The goal is to let the entire part cool down as slowly and uniformly as possible inside the heated chamber after the print is finished.
Polypropylene (PP)
Polypropylene is the unsung hero of chemical resistance. It is used for car batteries, lab equipment, and food containers because it is impervious to most acids, bases, and solvents. It is also semi-flexible and has incredible fatigue resistance, making it perfect for containers with integrated snap-fit lids or living hinges.
The Challenge: It sticks to almost nothing, including itself. Warping is a massive problem.
Workshop Execution for Polypropylene
- Drying: PP is not very hygroscopic, but drying at 50-60°C for a few hours is still good practice.
- Nozzle & Bed Temperature: Relatively modest. Nozzle at 220-250°C, bed at 80-100°C.
- Bed Adhesion: This is the secret. Get a roll of clear polypropylene packing tape. Apply a clean, bubble-free layer of this tape directly to your print bed. PP will stick to itself. This is the most reliable method by far. A massive brim is your best friend here.
- Enclosure: Recommended to fight warping, but not as critical as for PC. A simple cardboard box over your printer can make a huge difference.
- Slicer Settings: Slow your first layer down to 10-15 mm/s. Use a slightly higher flow rate (105-110%) for the first layer to really squish it into the tape.
Composite Filaments (Carbon Fiber & Glass Fiber)
Composites involve adding chopped carbon fibers (CF) or glass fibers (GF) to a base polymer like Nylon, PETG, or PC. This dramatically increases the stiffness, strength, and dimensional stability of the material. A huge benefit is that the fibers reduce the thermal expansion of the base polymer, which means significantly less warping.
The Challenge: Extreme nozzle abrasion.
Workshop Execution for Composites
- The Nozzle is a Consumable: Carbon fiber is incredibly abrasive. It will destroy a brass nozzle in a matter of hours, widening the orifice and causing massive over-extrusion and loss of detail. You must use a hardened steel, nozzle X, or ruby-tipped nozzle. No exceptions. Consider a 0.5mm or 0.6mm orifice to reduce the chance of clogs from fiber accumulation.
- Drying: The composite inherits the hygroscopic nature of its base polymer. Dry PA-CF just as you would dry PA. Dry PETG-CF just as you would dry PETG.
- Print Settings: Start with the profile for the base polymer (e.g., use Nylon settings for PA-CF). You may need to bump the nozzle temperature by 5-10°C to account for the thermal properties of the fibers.
- Cooling Fan: Because composites warp less, you can often use more part cooling than with the pure polymer. For PA-CF, you might get away with 25-50% fan, which can drastically improve overhangs and fine details.
Material Parameter Quick Reference
| Parameter | Nylon (PA) | Polycarbonate (PC) | Polypropylene (PP) | Composites (e.g., PA-CF) |
|---|---|---|---|---|
| Nozzle Temp (°C) | 250 - 270 | 280 - 310 | 220 - 250 | +5-10°C over base material |
| Bed Temp (°C) | 80 - 110 | 110 - 130 | 80 - 100 | Same as base material |
| Drying Temp/Time | 80°C / 8-12 hr | 85°C / 6-8 hr | 60°C / 4 hr | Same as base material |
| Enclosure | Recommended | Mandatory | Recommended | Recommended |
| Nozzle Type | All-Metal | All-Metal | Any | Hardened Steel (Required) |
| Bed Surface | Garolite / G-10 | PEI + Glue | PP Tape | Same as base material |
| Part Fan | 0% | 0% | 0 - 25% | 25 - 50% |
Decision Framework: Which Material for My Part?
Choosing the right engineering filament comes down to identifying the primary stress your part will face.
-
For high-impact or repeated flexing: Choose Nylon (PA). Its toughness is unmatched for parts that need to bend and deform without failing, like snap-fits, gears, or tool handles.
-
For high-temperature structural parts: Choose Polycarbonate (PC). If the part must remain rigid and strong under thermal load (e.g., fan shrouds in a heated chamber, automotive engine bay components), PC is the only choice.
-
For chemical resistance or living hinges: Choose Polypropylene (PP). If your part will be exposed to solvents, acids, or needs to function as a one-piece container with a hinge, PP’s unique properties are ideal.
-
For maximum stiffness and dimensional stability: Choose a Carbon Fiber Composite (PA-CF/PETG-CF). For parts that must not flex under load, like drone frames, jigs, or fixtures, the added carbon fiber provides exceptional rigidity and minimal warp during printing.
Related Filament and Resin Guides
Best Filament Dryers
Most engineering polymers are highly hygroscopic and require active moisture removal before printing. Choosing a reliable 3D printer filament dryer ensures consistent extrusion and optimal layer adhesion.
Carbon Fiber Filament Guide
When raw polymer strength isn’t enough, adding continuous or chopped fibers drastically changes part rigidity. The Carbon Fiber Filament Guide details exactly how to manage nozzle wear and temperature adjustments for these abrasive materials.