
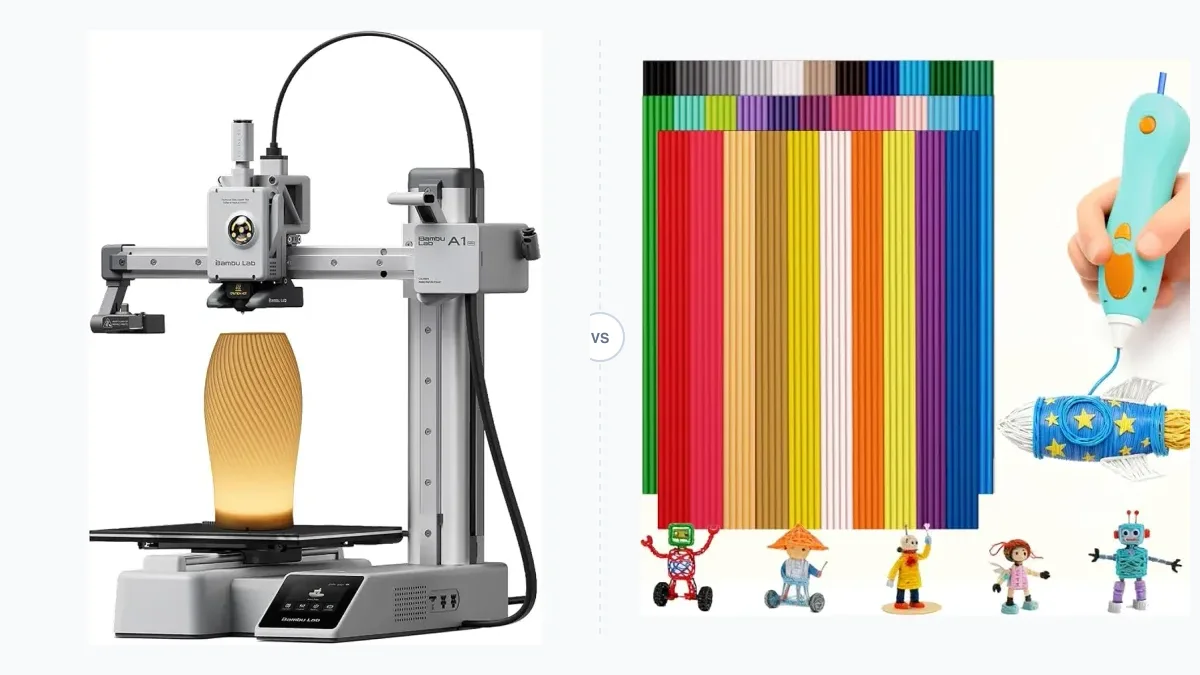
The choice between a 3D printer and a 3D pen depends on whether you need the automated precision of a digital machine or the manual freedom of a handheld drawing tool. A 3D printer builds complex, dimensionally accurate models layer by layer using software. A 3D pen extrudes heated plastic directly from your hand to draw physical lines in the air or on a flat surface. This guide covers how each tool operates, the key differences in their operational suitability, filament interchangeability, and how to select the right device for educational or home environments.
What Is the Main Difference Between a 3D Printer and a 3D Pen?
The main difference between a 3D printer and a 3D pen is that a printer translates digital models into physical objects automatically, while a pen relies entirely on human hand movement. Desktop 3D printers follow rigid G-code instructions to deposit layers of thermoplastic with high repeatability. Handheld 3D pens function like a hot glue gun that melts plastic filament, giving the user complete control over the shape, speed, and direction of the extruded material.
How a Desktop 3D Printer Works
A desktop 3D printer manufactures objects by depositing melted filament layer by layer along the X, Y, and Z axes. Users begin by preparing a digital model in a computer program known as slicing software. The software slices the model into horizontal layers and generates a file containing coordinates and temperature settings. The machine reads this file and moves its extruder assembly to build the object from the bottom up. Once the print starts, the machine operates autonomously until the component is finished.
How a 3D Pen Works
A 3D pen operates as a handheld extruder that melts plastic filament for manual drawing. Users feed a strand of filament into the back of the device, where an internal heating element raises the temperature until the plastic becomes pliable. Pressing a button pushes the melted plastic out of the nozzle. The material cools and solidifies rapidly in the air, allowing users to build structures upward or sketch flat shapes on a desk without needing any computer software or digital models.
MYNT3D lists the Super 3D Pen with a stepless speed slider to regulate flow and an ultrasonic sealed nozzle designed to resist clogs. The device supports swappable ABS and PLA materials and includes a one-year warranty, although the maximum temperature is not meant for engineering thermoplastics and it lacks discrete temperature adjustment.
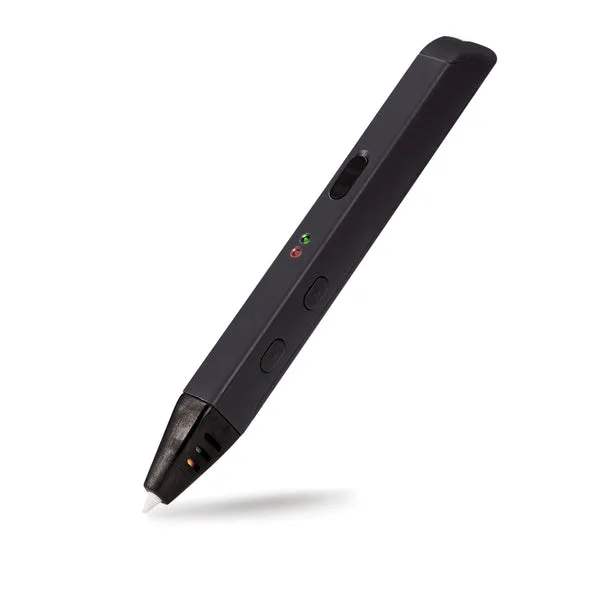
MYNT3D Super 3D Pen
Pros
- Ultrasonic sealed nozzle designed to resist clogs
- Stepless speed slider regulates flow, ABS and PLA swappable
Cons
- Maximum temperature is not meant for engineering thermoplastics
- No discrete temperature adjustment
3D Pen vs. 3D Printer: Key Differences in Operational Suitability
When comparing desktop 3D printers and 3D pens, it is necessary to look at precision, learning curves, production speed, expenses, and safety features.
| Feature | 3D Printer | 3D Pen |
|---|---|---|
| Precision | High dimensional accuracy (0.1 to 0.2 mm layers) | Low, depends entirely on hand control |
| Ease of Use | Requires software and calibration knowledge | Plug-and-play, no software needed |
| Output Speed | 30 to 90 minutes for small parts, automated | Fast for doodles, slow and tiring for large items |
| Initial Cost | $150 to $500 for beginner models | $20 to $50 for entry-level models |
| Safety | Enclosed chambers available for heat protection | Low-temp options exist, nozzle gets hot |
Creative Freedom vs. Precision
A 3D pen offers total creative freedom, whereas a 3D printer delivers unmatched mechanical precision. The pen allows users to change direction, adjust thickness, and modify a shape instantly. This flexibility suits abstract art but fails to produce tight tolerances. Desktop printers achieve a layer height of 0.1 to 0.2 millimeters. The machine builds geometric shapes, perfectly round holes, and interlocking mechanical assemblies that fit together flawlessly.
Ease of Use and Learning Curve
A 3D pen presents a minimal learning curve, while a 3D printer demands technical understanding. Using a pen involves plugging it in, waiting for it to heat, and pressing the extrusion button. Children grasp this concept in minutes through simple demonstration. Operating a desktop printer requires mastering slicing software, understanding bed adhesion, and tuning print parameters. Modern machines reduce this friction using full-auto calibration and auto-leveling sensors, but the initial setup remains far more complex than picking up a handheld tool.
Speed of Creation and Output Quality
A 3D pen generates immediate physical lines, but a 3D printer produces superior overall output quality at a slower pace. Sketching a small plastic flower with a pen takes just minutes. Printing a similar object on a machine requires model preparation and 30 to 90 minutes of unattended run time. The printer yields smooth surfaces, dense infill, and durable structures. Pen creations feature visible layer inconsistencies, thin walls, and a higher likelihood of deformation under stress.
Cost and Ongoing Material Expenses
Entry-level 3D pens are highly affordable upfront, whereas 3D printers require a larger initial investment. A basic pen costs between $20 and $50. A beginner desktop printer ranges from $150 to $500. However, material costs balance differently over time. Small packs of 5 to 10-meter filament strands for pens carry a high cost per meter. Bulk 1-kilogram filament spools for printers provide thousands of meters of plastic at a much lower unit price.
Safety and Supervision
Safety profiles differ based on heat exposure and mechanical parts. 3D pens feature a hot nozzle that can cause burns, meaning young users require direct adult supervision. Some manufacturers offer low-temperature PCL pens that remain cool to the touch for added safety. Desktop printers run their hotends much hotter than low-temperature pens, so they can melt a wider range of filaments. Many educational printers utilize a fully enclosed chassis and a door-sensor design to keep hot components and moving belts safely isolated from children.
Are 3D Pen and 3D Printer Filaments Interchangeable?
Standard 1.75mm filament is generally interchangeable between 3D pens and 3D printers. Most devices accept common materials like PLA, ABS, and PETG. If your pen uses a 1.75mm input diameter, a length of PLA cut from a large printer spool will feed and melt perfectly. Printer filament often maintains stricter dimensional tolerances, which prevents pen clogs.
Using pen filament in a desktop machine introduces logistical challenges. Pen filament is sold in short 5 to 10-meter strands. Feeding these short pieces into a printer requires constant manual reloading, making it impractical for large models. Pens lack the heating capacity to melt high-temperature engineering polymers like nylon or polycarbonate.
Which Tool is Better for You?
Selecting the right device relies entirely on the age of the primary user and the goals of the project.
For Younger Children and Artistic Projects
A 3D pen is the best choice for children aged 6 to 10 who enjoy open-ended artistic projects. The lack of software barriers allows young creators to focus immediately on drawing and building simple structures. Manipulating the pen develops fine motor skills and spatial thinking without the frustration of failed digital slices or complex machine maintenance.
3Doodler lists the Start+ Essentials 3D Pen Set for a target age of 6 to 13 with eco-plastic material and a two-year warranty. The pen features no hot parts and allows users to play while charging, but it lacks a dedicated reverse button and a self-maintenance hatch.
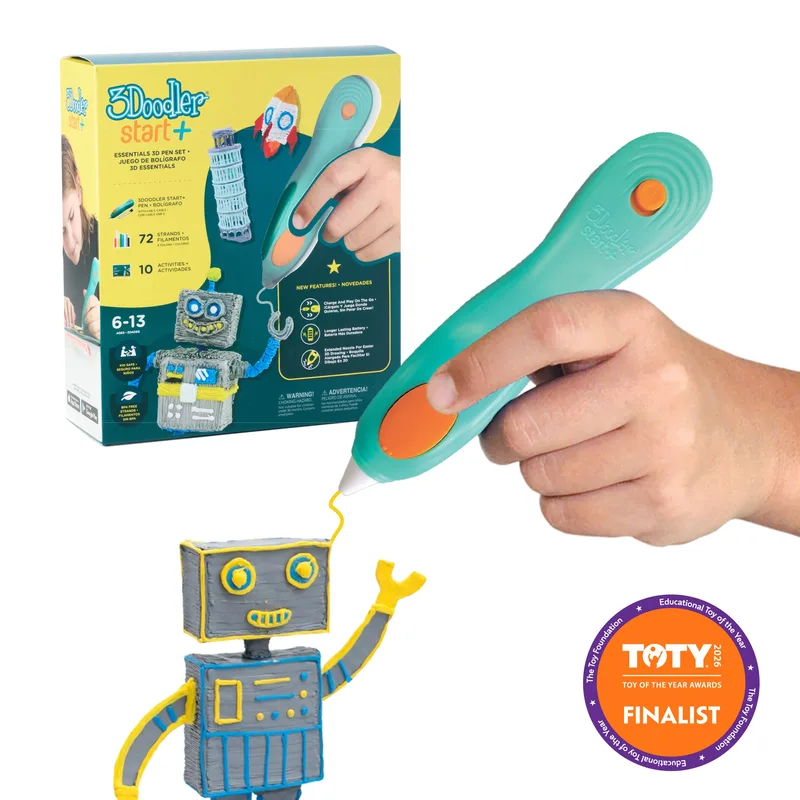
3Doodler Start+ Essentials 3D Pen Set
Pros
- No hot parts
- Play while charging
- Uses eco-plastic
Cons
- No dedicated reverse button
- Lacks self-maintenance hatch
For STEM Learning and Engineering Prototypes
A desktop 3D printer is the essential choice for students aged 10 and older engaging in STEM learning. Designing parts in CAD software and operating the machine teaches core engineering concepts. Students can visualize geometric graphs in math, print molecular models for science, or build functional load-bearing bridges. The precision of the machine turns abstract ideas into testable physical prototypes.
Bambu Lab lists the A1 Mini Combo with a 180mm cubic build volume and a maximum speed of 500 mm/s at 10000 mm/s² acceleration. The system includes an all-metal hot end with hardened steel extruder gears, closed loop control for the part cooling fan, and a monitoring camera for up to 1080p timelapse, though the 80 ℃ maximum build plate temperature is not recommended for ABS and ASA.
Bambu Lab A1 Mini Combo
Pros
- All-metal hot end with hardened steel extruder gears
- Monitoring camera supports up to 1080p timelapse
- Closed loop control for part cooling fan
Cons
- Build volume is limited to 180mm cubic
- Max build plate temperature caps at 80 ℃, ABS and ASA are not recommended
How to Choose a Desktop 3D Printer for Home and School
Choosing a desktop 3D printer for long-term home or classroom use requires prioritizing reliability, safety, and quiet operation over maximum speed or build volume. Educational settings demand machines that work out of the box with minimal tinkering.
A fully enclosed chamber is the most critical feature for classrooms and shared home offices. The enclosure protects users from the heated bed and the moving extruder assembly while trapping fine particles. Fail-safe features drastically reduce frustration for beginners. Auto-leveling eliminates the need for manual paper tests under the nozzle. Filament run-out detection pauses the print when the spool empties, and power-loss recovery saves a 10-hour print from being ruined by a short outage.
Noise levels restrict where the machine can operate. Modern printers utilizing silent stepper motor drivers keep operational noise under 50 decibels, allowing them to run in a study or library without disrupting conversations. For more detailed machine criteria, read our desktop 3D printer buying guide or browse our other 3D Printer Comparisons.
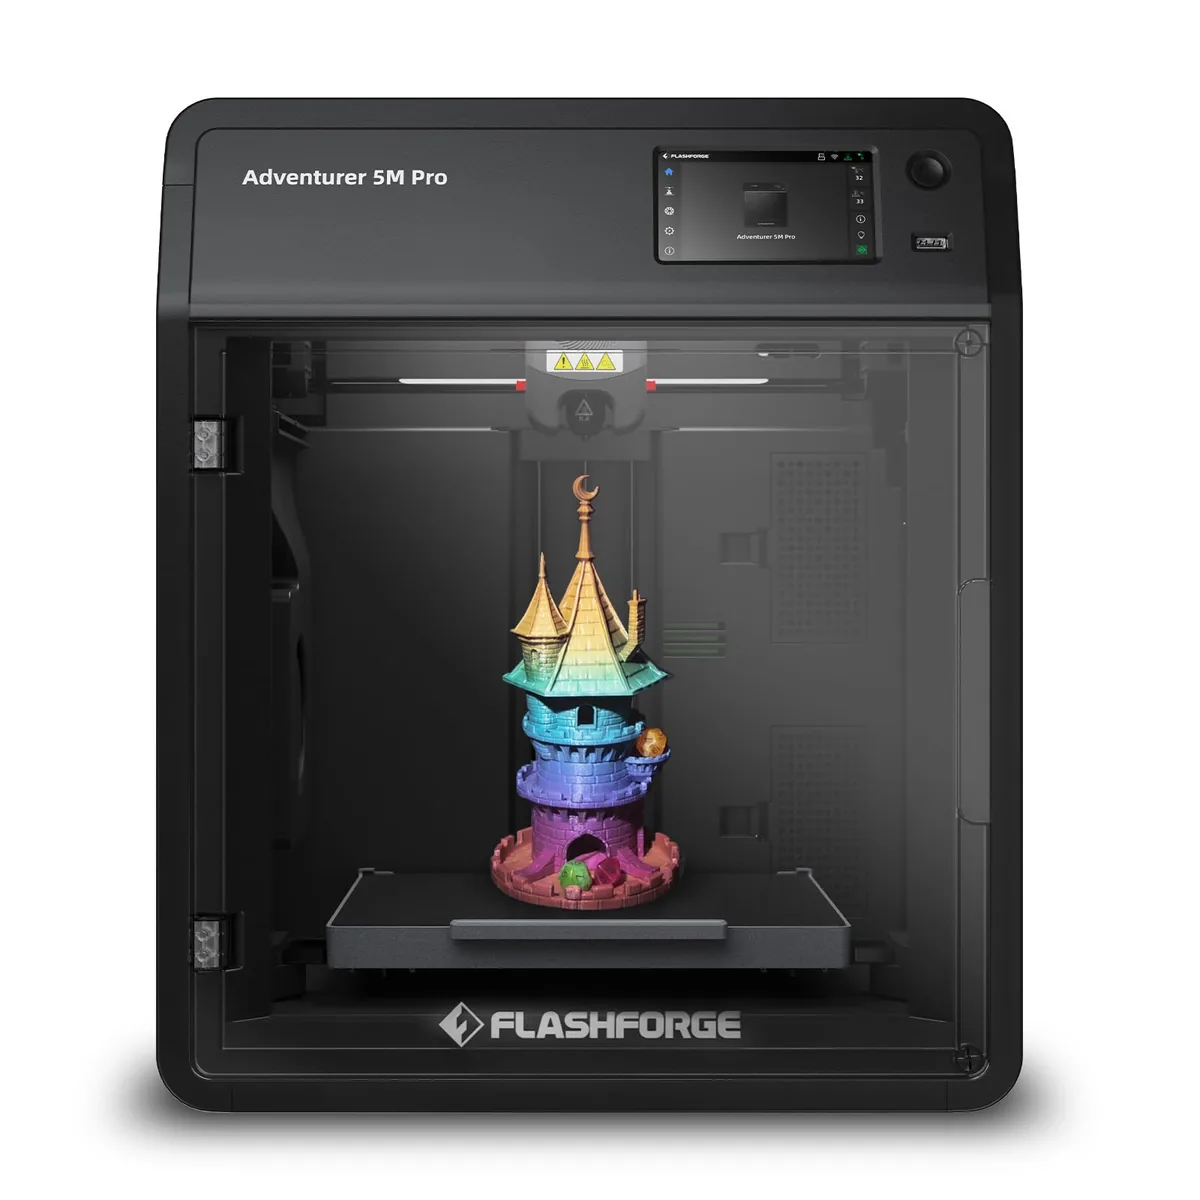
Flashforge Adventurer 5M Pro 3D Printer
Pros
- Dual-channel air filtration (internal recirculation + external exhaust) effectively traps styrene fumes
- Ultra-quiet 50 dBA silent printing mode perfect for bedrooms or classrooms
- Quick-swap nozzle mechanism allows 3-second toolless hotend changes
- Fully automated 1-click calibration with zero manual Z-offset tuning required
Cons
- 280°C max nozzle temp is not designed for ultra-high-temp PEEK or PEKK
- Build volume is 220mm cubic
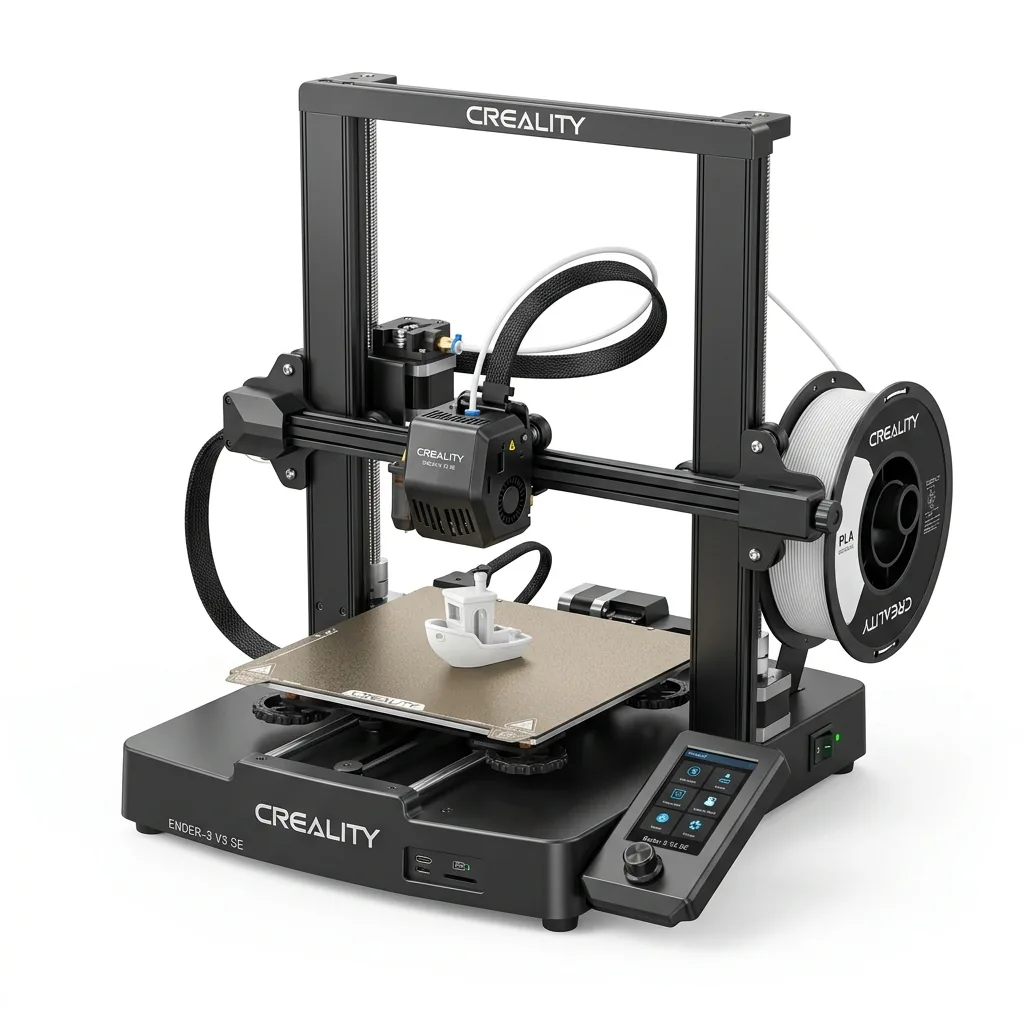
Creality Ender 3 V3 SE 3D Printer
Pros
- Hands-free auto bed leveling and Z-offset calibration
- Reliable Sprite direct drive extruder handles PLA, PETG, and TPU
- Dual Z-axis lead screws ensure high stability
- Incredible sub-$200 value
Cons
- Bowden PTFE inside hotend limits temperature to 250°C
- Open frame not ideal for ABS