
The best 3D printers under $300 for beginners are the Creality Ender 3 V3 SE for simpler calibration and the ELEGOO Neptune 4 Pro for Klipper-based control. This guide compares those verified budget models, explains their workflow differences, checks the full setup cost, lists first-day supplies, and closes with a direct choice.
Best 3D printers under $300 at a glance
The best 3D printers under $300 in this guide are open-frame FDM machines with direct-drive extruders, automatic bed leveling, and manufacturer profiles for common filament.
| Buying criterion | Creality Ender 3 V3 SE | ELEGOO Neptune 4 Pro |
|---|---|---|
| Build volume | 220 x 220 x 250 mm | 225 x 225 x 265 mm |
| Extruder | Sprite direct drive | Dual-gear direct drive |
| Bed calibration | CR Touch plus automatic Z-offset | Automatic leveling |
| Listed maximum speed | 250 mm/s | 500 mm/s |
| Firmware approach | Marlin-based interface | Klipper-based interface |
| Best match | Simpler first-printer workflow | More control and higher listed motion speed |
The listed maximum speed is not a promise of equal quality on every model. Geometry, acceleration, layer height, material flow, cooling, and the slicer profile determine the usable speed for a specific part.
1. Creality Ender 3 V3 SE for the simplest start
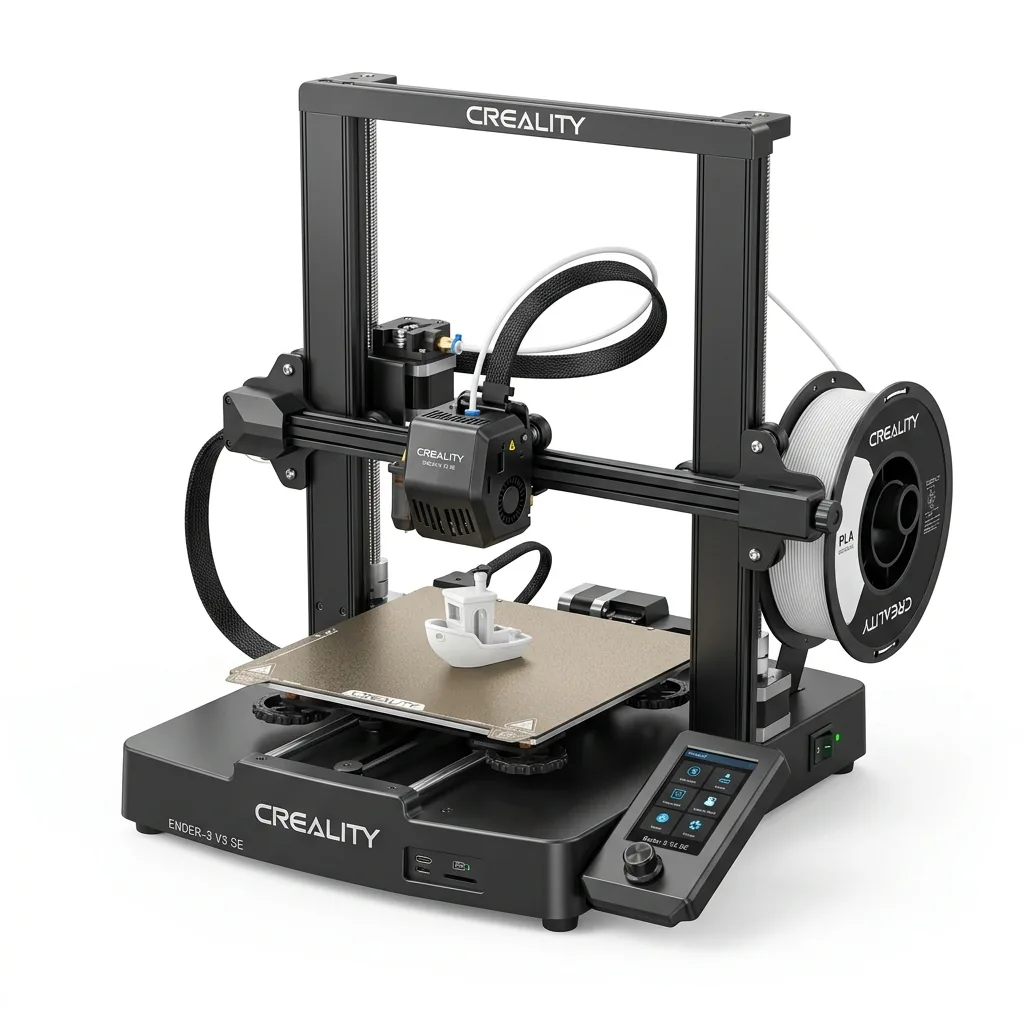
The Creality Ender 3 V3 SE is the best fit for a beginner who wants the printer to handle bed mapping and Z-offset calibration with minimal manual input.
Creality lists a 220 x 220 x 250 mm build volume, a Sprite direct-drive extruder, CR Touch bed leveling, and automatic Z-offset calibration. Direct drive shortens the filament path, which supports PLA, PETG, and flexible TPU profiles when the material and slicer settings follow Creality’s documentation.
The open frame is appropriate for the common beginner workflow of PLA and PETG. Materials that require a controlled chamber, routed ventilation, or a higher-temperature hotend need a different machine and workspace plan.
Creality Ender 3 V3 SE 3D Printer
Pros
- Almost fully automated calibration
- Reliable direct drive extruder
- Excellent out-of-the-box print quality
Cons
- Part cooling fan can be loud at max speed
2. ELEGOO Neptune 4 Pro for Klipper controls
The ELEGOO Neptune 4 Pro is the better fit for a beginner who wants Klipper-based controls and accepts more software configuration than the Ender 3 V3 SE requires.
ELEGOO lists a 225 x 225 x 265 mm build area, a dual-gear direct-drive extruder, automatic leveling, and a maximum speed of 500 mm/s. That maximum is a machine specification, not a suitable starting value for every print. Begin with the printer and filament maker’s profiles, then change one variable at a time after a baseline print succeeds.
ELEGOO Neptune 4 Pro FDM 3D Printer
Pros
- Extraordinary value for money
- quiet operation
- rugged all-metal frame and dual lead screws
Cons
- Auxiliary cooling fan is bulky
Klipper exposes more controls and a browser-based workflow. That access is useful for later tuning, but a new owner must still confirm the correct printer profile, network procedure, firmware instructions, and recovery method before changing configuration files.
How the two beginner workflows differ
The two beginner workflows differ mainly in software complexity and how much control the owner wants after the first print.
Choose the Ender 3 V3 SE when the priority is a short path from assembly to a basic PLA profile. Choose the Neptune 4 Pro when learning Klipper is part of the project and the buyer wants more direct access to motion and profile settings.
Automatic leveling does not replace the setup procedure. Both machines still need a stable surface, removed shipping restraints, correctly seated cables, a clean build plate, the right slicer profile, and a first-layer check. The step sequence in the 3D printer setup and first print guide applies those checks without assuming one universal assembly time.
Calculate the complete beginner budget
The complete beginner budget includes the printer and every item required to operate the selected material workflow safely.
Add these costs before comparing a sale price:
- Filament that matches the printer’s documented material support.
- Build-surface cleaning supplies approved by the surface maker.
- Basic tools, including flush cutters and a scraper if the printer manual calls for one.
- Replacement wear parts, such as the correct nozzle format.
- Dry storage or a dryer when the filament maker specifies conditioning.
- Ventilation, containment, and protective equipment required by the material and workspace.
Resin printers need a separate budget for resin handling, washing, post-curing, ventilation, and waste. An enclosed FDM printer may exceed the $300 machine limit. Those workflows were excluded because they are not direct substitutes for the two open-frame FDM printers compared here.
First-day supplies and material choice
First-day supplies should support one documented PLA profile and one diagnostic print before the beginner buys upgrades.
Start with a known filament profile, keep the spool dry according to its maker’s instructions, and clean the plate using the surface manufacturer’s approved method. The filaments and resins guide separates common FDM materials from resin workflows and their different handling requirements.
Avoid buying upgrades before the stock machine completes a repeatable baseline print. A replacement nozzle, altered firmware, or modified cooling system adds another variable to diagnose.
Which 3D printer under $300 should a beginner buy?
The Creality Ender 3 V3 SE is the stronger default for a first-time owner, while the ELEGOO Neptune 4 Pro is the stronger choice for a beginner who specifically wants Klipper control.
The Ender 3 V3 SE reduces initial calibration work through its listed CR Touch and automatic Z-offset features. The Neptune 4 Pro adds a larger listed build area and Klipper-based controls, with more responsibility for software setup. The final choice returns to the same beginner question: select the workflow you can configure, maintain, and operate within the full material and workspace budget.